We already know the importance of a storage shed, so we won’t dwell much on that. This article discusses the steps involved in building a ramp for your shed. It is quite important to erect a shed on a concrete floor. When the floor of the shed is elevated, bad weather won’t affect it.
There’s a problem with the elevation. When the shed is high, how do you roll a heavy object inside? Or how do you push heavy objects inside? The solution is a ramp.
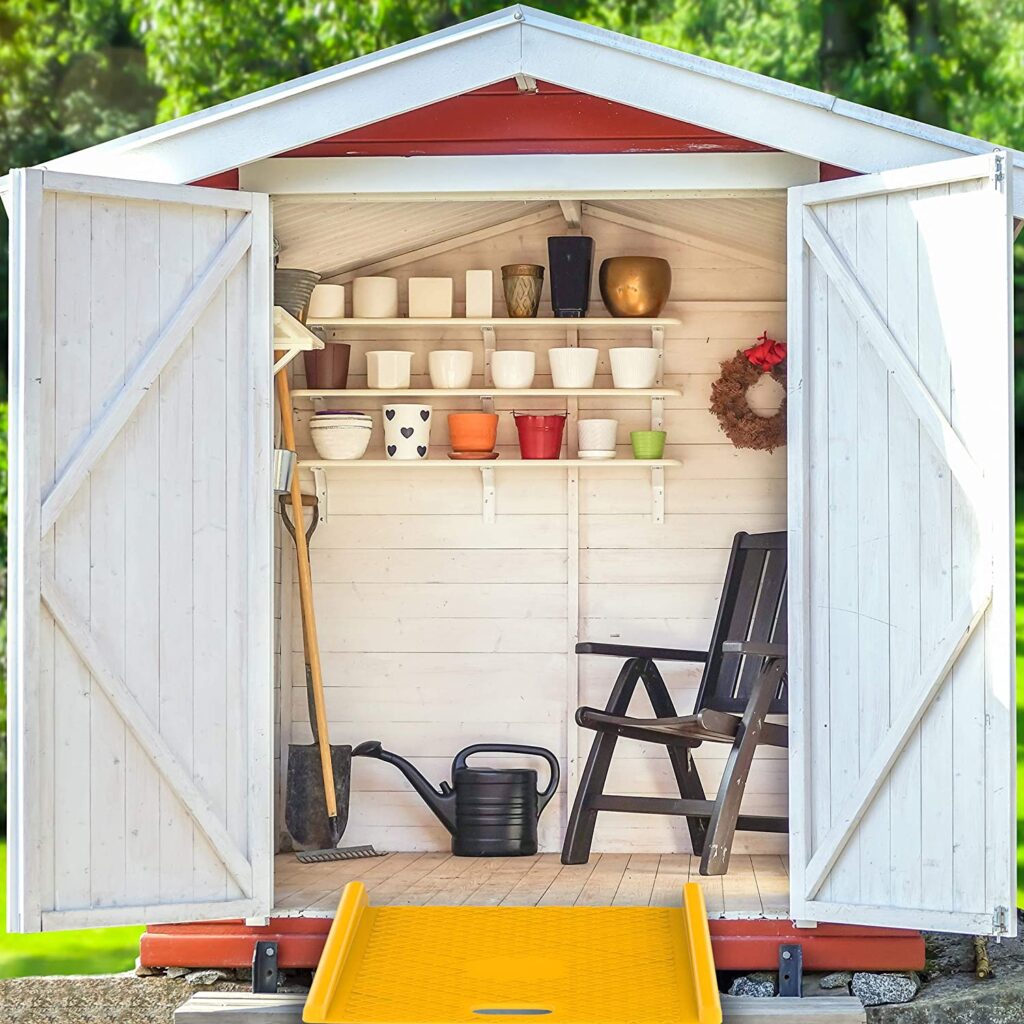
So, what exactly is a ramp? It is an elevated arch that is placed at the entrance of a shed. It acts like an inclined plane for entrance and exit. With a ramp in front of your shed, you won’t need to jump in and jump out.
Unfortunately, ready-made storage sheds don’t usually come with a ramp. So, you’ll have to build one. That’s why we have decided to explain the process involved in building a shed in this article.
To build a ramp, you need the following materials.
- Four 2 x 8 treated plywood boards
- Hammer
- One 2 x 12 treated plywood board
- Power drill
- Sandpaper (optional)
- Saw
- Screws (3” flat head wood deck screws)
- Tape measure
How To Build A Ramp For A Storage Shed? 5 Steps
Step 1 – Measure the width of the ramp. It has to correspond with the width of the entrance of your shed. If a ramp isn’t as wide as the entrance, it may become dangerous.
Step 2 – Cut the lumber based on the measurements. Ensure the stringers are even. Also, don’t forget to drill holes on the board. Remember that you’ll later drive screws into the holes. So, the holes should be wide enough to take the screws but they should not be too wide. Repeat the process from the top to the bottom.
Step 3 – Screw boards to the stringers, starting at the top. Drive every screw in one by one with a power drill.
Step 4 – Trim off the excess wood. You need to make the body of the ramp smooth. You can either paint or spray it. A good finish will definitely add to its visual appeal.
Step 5 – Rubberize the top of the ramp. As time goes on, the top of the ramp may become smooth and slippery. That will increase the chances of people tripping and falling. So, it may be a good idea to place a rubber mat on the ramp and nail it.
Precautions:
1. Don’t Go Too Cheap: It is normal to try to cut down your cost. And as such, you may want to go for the cheapest wood. This could backfire. The wood may begin to warp after a few years or it may get infested by termites. When that happens, you may have to build another ramp, doubling the cost.
So, it is better to invest in pressure-treated and rot-resistant wood. Although it may seem expensive at first, it will be more cost-effective in the long run. Quality isn’t cheap. How long your ramp will last depends on the quality of wood.
If you purchase cheap wood, it may not last for more than a couple of years. But if you spend extra money on high-quality, super-dry wood, you’ll enjoy your ramp for many years.
2. Don’t Make Your Ramp Too Steep: Instead of making their ramp long, some people prefer to make it short to reduce the size of wood. That way, they end up making it steep.
This becomes a problem when they’re trying to push a heavy-wheeled object into the shed. They’ll have to apply more efforts to prevent it from rolling back.
If you make your ramp longer, it won’t be too steep. You’ll easily push heavy objects inside and outside.
3. Your Ramp Should Be Flush With The Doors: It is important that your ramp is flush with the doors of your shed, so they can open and close easily. If the top of your ramp is higher than your doorway, dig the ramp into the ground to reduce its height.
4. Rubberize Its Top: Constant wear and tear will make your ramp smooth over time. When it becomes smooth, it can be slippery. To avoid that, you need to place a rubber sheet on the ramp and nail it. Rubber is non-slippery.
5. Add More Stringer: If it feels like your ramp cannot withstand the weight of objects that pass on it, you can add more weight by adding more stringers. If you’ve used two stringers, add the third one.
Why You Need A Ramp For Your Storage Shed?
Here are some of the reasons why every storage shed needs a ramp.
1. It Beautifies The Shed
Compare sheds that have a ramp with the ones that do not have. You’ll see that the former almost always looks better than the latter. So, it is safe to say a ramp gives your shed visual appeal. In other words, it gives your shed a superior feel.
2. It Makes Wheeled Storage Possible
If you have a wheeled heavy-duty tool like a generator, you may not be able to lift it into your shed. But with a ramp at the entrance, you can easily roll it outside and back inside. A ramp makes this possible.
3. It Reduces Chances Of Accidents Occurring
Another benefit of installing a ramp to your shed is that it prevents accidents. Since it makes it easier for people to walk into the shed and walk out empty-handed or with heavy objects in hand, people are not likely to trip and fall.
How do you determine the angle of a shed ramp?
Shed ramp is a brilliant innovation to ease carriages and locomotion of wheels or heavy-duty materials in and out of the shed. The inappropriate act of setting the run and rise of the shed ramp’s angle could limit the convenience of using it.
Meanwhile, the sole purpose of using a shed ramp matters because that goes a long way in determining the angle of the shed ramp. For instance, in a case whereby the ramp is expected to ease disabled folks with wheelchairs in and out of the shed, the US ADA standard has to be put into apt consideration.
You wouldn’t want the ramp to be too sloppy because that could exacerbate the use of the shed itself. ADA standard states that the rise and run measures have to be taken to measure the degree of a shed ramp. To calculate the RISE, you’ll need to know the high and low measurements of the ramp.
The slope gradient has to be determined likewise. Furthermore, the available distance and the height of the shed’s floor from the bare floor have to be determined likewise. Horizontal divided by the vertical will give the ratio of the slope. Then, finding the arctangent of the ratio will provide the equivalent degree of the shed ramp.
What kind of wood should I use for a shed ramp?
The two kinds of woods that most woodworkers use are lumber and plywood. Lumber is often used as the support for plywood because of its smoothness. The dimension of the lumber is 4X4, and three-quarter thick plywood is used to make the shed’s ramp. If you’re choosing plywood, then select the ones made for outdoor use because they are waterproof.
How do you build a shed ramp for uneven ground?
- You’ll need to make a few calculations before you initiate your quest in the task. Get a tape rule and carry out some measurements first.
- Estimate the distance of the ramp and take the measurement of the height from the cross-piece of the door to the ground.
- If it requires filling a muddy space to get the correct measurement, then you’d have to do so. Fill the dirty holes with loamy sand to get everything leveled up.
- If you’re using concrete, then get into a woodworking section by cutting and sizing planks. Get a 3X4 or 4X4 lumber and cut the length to your estimated viewpoint. However, you might need to retain the 1:12 US ADA standard.
- Cut the lumber for the vertical and the other for the horizontal. Do that for the two sides. Nail the bar that’s cut for the altitude side onto their respective side of the door bar (you don’t have to get them buried). Attach the horizontal bar on both sides of the shed ramp. Run another touching the endpoint of the bar lying horizontally on the ground to the tip of the ones nailed standing vertically and nailed on the door bars (do that respectively on both sides.
- This would have formed a triangular shape on both sides right now. Then, cover the space/aperture of the triangular frame with plywood or lumber.
- Get rails to reinforce the concrete afterward. However, mix the concrete while you knit and align the rails. Besides, the rail will help in the retention of the concrete. Nevertheless, don’t forget to add a plank that could connect the tip of the adjacent end of both sides so that the concrete would run off when filling.
- A welder can help you fix the rails while you fill the ramp frame with the concrete when you’re finally done.
- You can remove the frame whenever the concrete is dry.
Final Words
Most sheds don’t come with a ramp, so you have to build one for your shed. Take the time to study the steps discussed above. It may be difficult initially, but you’ll get the hang of it with time. Also, try and use high-quality wood if you want the ramp to last long.

- 12 Best Rated Air Fryers for Home Cooking in 2026 - April 22, 2026
- 12 Best Air Fryers to Buy for Home Use in 2026 - April 22, 2026
- 11 Best Air Fryer Buying Guides for Beginners in 2026 - April 22, 2026