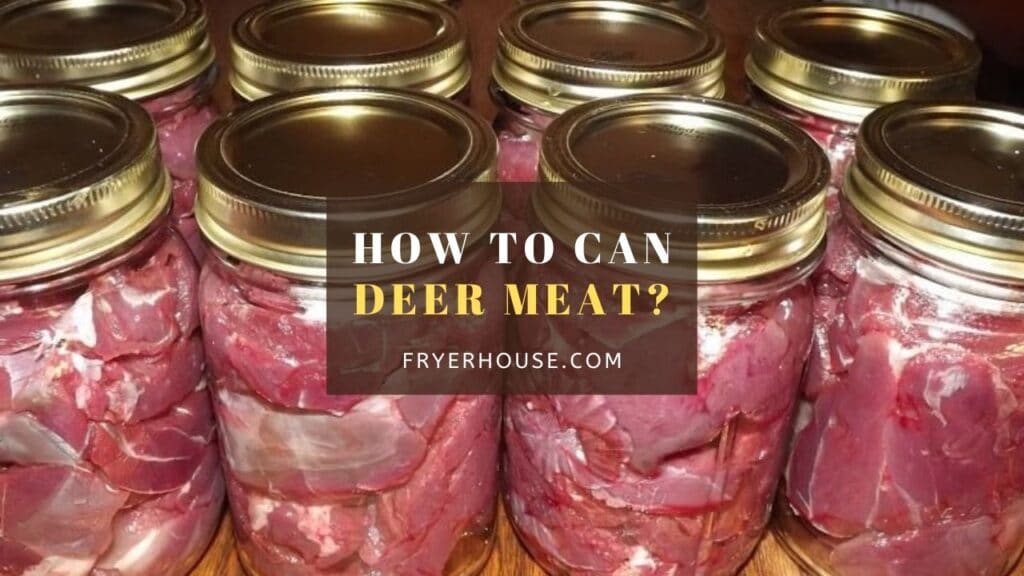
Deer meat, also known as venison, is one of the tastiest and most delicious meats and it responds well to canning. That’s why we want to answer a few questions about canning your venison in this article. Let’s get straight to business now.
There are several methods of preservation, but canning is adjudged to be the safest and most effective. It is the process of heating food under high pressure to kill all the bacteria spores in it. That way, the food will last for a long time. Also, canned foods do not need to be refrigerated. After canning your food, you won’t bother much about power outages.
Due to the benefits of canning, manufacturers came up with a lot of pressure canners. They come in different sizes and shapes, but they do the same thing. Although all kinds of meat can be canned with a pressure canner, this article focuses on how to can deer meat.
When you read through the piece, you’ll learn the simple steps involved in canning deer meat. But before you learn how to can venison, you should learn a few facts about deer meat.
More importantly, the benefits of canning your deer meat have also been discussed below. At the end of the write-up, we gave a few ‘precautionary tips for canning your venison. So, let’s go.
How long will pressure canned deer meat last?
We know that if you can your deer meat with a pressure canner, it can last for more than 2 years. But we were shocked when people responded to our survey that their deer meat lasted for about 4 years. This means that deer meat lasts longer than many other types of meat.
Can you can deer meat without a pressure cooker?
Yes, it is possible to can your deer meat without a pressure canner. However, it is not safe. We can’t guarantee that a water bath will kill off all the bacteria spores in it. In fact, we don’t recommend canning venison without a pressure canner.
To make it a little safer, you have to cook it before you can it with a water bath canner. That helps to kill more of the bacteria spores.
Do you have to cook venison before canning?
If you’re canning it with a pressure canner, you don’t have to cook it before canning. However, there’s nothing wrong with cooking it before canning it. On the other hand, if you’re canning it with a water bath canner, it is necessary to cook it first. Cooking will kill some of the bacteria spores, though not all. Only a pressure canner can kill all bacteria spores.
What does canned deer meat taste like?
Canned deer meat tastes like canned beef but slightly better. Deer meat isn’t as hard as beef, and that makes it a better choice. You’ll love it because it easily tears on the fork, just like turkey. However, different people have slightly different opinions about the taste of venison. What no one can contest is the fact that deer meat tastes great.
A Few Facts About Deer Meat
First of all, deer meat is a little more expensive than your chicken, beef, turkey, and other meat because it is not readily available. People spend several hours hunting them. And hunting deer isn’t easy. You could spend days in the woods without even sighting any of them. Deer can smell humans several kilometers away, and when they do, they’ll stay away.
Any deer killed is a product of super-hard work. Also, the meat has a little fat and that’s why you must trim off the fats before canning it. When heated, venison gives off some liquid. So, you should can the meat dry. It is considered to be healthier than red meat because it contains less fat than red meat.
However, it’s a great source of protein. In addition, venison has zero carbohydrate and it contains fewer calories. That makes it a better choice for people that are watching their weight. It even has fewer calories than your favorite chicken breast.
You must have heard that too much sodium is unhealthy for the heart. So, we’re glad to inform you that venison contains a lower amount of sodium than red meat.
That’s another reason why deer meat is said to be healthier than red meat. Venison is rich in vitamins and minerals, and most of all, it is very tasty. So, if it takes weeks before you hunt down a game, it’s worth every minute of your time.
Benefits of Canning Your Venison
The meat is not readily available like red meat. If you have the meat, the chances are high that you hunted it. If that is the case, you’ll have a whole deer in your hand. You’ll need a lot of fridge space to preserve it. But when you can it, this will save your fridge space.
Generally, people believe that the longer any food stays in the refrigerator, the more it loses its flavor. So, if you leave your venison in the refrigerator for a long time, it may begin to lose its flavor and taste. When you eventually cook it, you may not enjoy the taste like a fresh one.
Canning also helps to remove fat from deer meat. After canning it, you’ll see the fat at the top of the jar, and you can easily scrape it off. Nevertheless, it is better to trim off the fat before canning it
If you’re a camping enthusiast, you’ll love canned meat because you don’t need any refrigerator to preserve it. And it can stay long without getting spoilt because canning kills the bacteria spores in it.
Another reason to can your venison is for an emergency. Canned meat is already cooked and can be prepared within minutes. So, if you get home super hungry and tired, your canned venison may be a lifesaver.
Finally, canning is fun. Don’t you think so? If you love cooking, you’ll love canning. When canning for the first time, you may be a little nervous. But when you eventually get the hang of it, you’ll begin to derive pleasure from it.
How to Can Deer Meat?
Even if you have never used a pressure canner before, you should get it right with the simple steps below. We have made the tutorial simple for everyone.
Step 1 – Study the instructions on your pressure canner well and always follow it. The instructions are meant to guide you. There are several brands of pressure canners and they all do the same thing but there are slight differences in their modes of operation. So, you need to understand how yours work. Remember, faults caused by negligence or careless mistakes are usually not covered by warranties.
Step 2 – Wash the meat and drain it off.
Step 3 – Cut the meat into smaller pieces and trim off the fat in it.
Step 4 – Quickly sterilize your jars and their rings.
Step 5 – Pack each jar full with the pieces of venison. The jars should be tightly filled to maximize space. Also, don’t forget to leave a space of 1 inch at the top. Drain off the water, if any. As mentioned earlier, the meat will release liquid when heated and pressurized.
Step 6 – You need to add a little bit of non-iodized salt like Kosher salt.
Step 7 – Add some black pepper as well. Both salt and pepper help to preserve the flavor and taste of the venison. Both ingredients are necessary because it’s been observed that canning reduces some of the flavor and taste of venison.
If you doubt this, you can do a simple experiment. Separate a jar of venison. Don’t add any salt and pepper to that one. So, after the canning, you can make some comparisons between meat with salt and pepper and the one without them.
Step 8 – Pour some water into the canner and place the jars in it one by one.
Step 9 – Cover the canner but don’t add the regulator yet.
Step 10 – Turn on the heat and wait until steam begins to go out through the vent pipe. Leave the steam to go out for about 10 minutes. Then, you can add the regulator and the weighted rings.
Step 11 –Soon, the regulator will begin to rock. When that happens, reduce the heat until it stabilizes.
Step 12 – Now, leave the pressure canner for about 75 to 90 minutes. You can check the time stipulated in the recipe.
Step 13 – After the timing has elapsed, you can turn down the heat and allow the pressure to come down on its own before you open the canner and remove the jars of venison. After removing them, leave them for 12 – 24 hours to cool down completely. Then, you can remove their rings and check their seals.
Step 14 – Label and store them.
Step 15 – Wash your canner and store it as well. Leaving water in it for too long could allow the canner to absorb the odor of the water.
That’s all. It may feel a little hard when you try it the first time. But with time, you’ll get the hang of it and it will feel easier. In fact, when you master the steps, canning will be fun.
Precautions
Here are some important precautions that you should always take whenever you’re using your pressure canner. Once you finish the process, allow the canner to depressurize naturally. It usually takes about 15 – 20 minutes. Also, when opening the canner, keep your face at a distance. You don’t want the trapped steam to hit your face as you open the canner.
Don’t allow your kids around when canning. You need full concentration because canning requires accuracy and precision. Kids could easily distract you. Also, follow the recipes to the letter. Don’t change the time or the quantities of the ingredients. You could jeopardize the balance and get an unpleasant result.
To be sure of its accuracy, you need to inspect your canner at least once in 12 months. The gasket of your pressure canner should always be soft and pliable. Unfortunately, you won’t see any sign when the gasket is no longer pliable and soft. That’s why it is important to check it before every canning session.
Make sure you study the user manual before you start using it. Don’t make the mistakes that could have been avoided. Does your pressure canner come with a warranty?
If it does, take some time to study the terms and conditions of the warranty. You should know all that the warranty covers. Secondly, don’t try to fix your pressure canner yourself. You could void its warranty.
Conclusion
After reading this piece, you should understand why it is important to can your deer meat and you should also be able to can the meat yourself.
All you have to do is to follow the steps listed above. After canning your venison a couple of times, you should be able to do it without following any given steps. Enjoy your delicious deer meat!

- 12 Best Rated Air Fryers for Home Cooking in 2026 - April 22, 2026
- 12 Best Air Fryers to Buy for Home Use in 2026 - April 22, 2026
- 11 Best Air Fryer Buying Guides for Beginners in 2026 - April 22, 2026