According to health organizations, canning is the most effective and safest food preservation method. That’s why a pressure canner has become an indispensable kitchen appliance. Of course, it is possible to can all kinds of food, but this article focuses on canning tomatoes.
Before discussing the steps involved in canning tomatoes, we listed some of the benefits of canning tomatoes. In addition to that, we also listed the best varieties of tomatoes that can well.
After that, we listed out the steps you need to take to can your tomatoes. The steps are very easy to follow. Even if you’ve never used a pressure canner before, you should be able to follow the steps easily.
After discussing the steps, we also gave some precautionary and safety tips. Finally, to wrap things up, we concluded the piece with a summary of what you must have learned. So, let’s get down to business right away.
Benefits of Canning Tomatoes
There are several reasons why you should can your tomatoes. It saves a lot of time. If you are a busy mom that may not have the time to peel, deseed, and blend tomatoes every time, it is better to can and store the tomatoes.
Another reason to can tomatoes is to prevent them from going bad. If you have a lot of tomatoes that are already going bad, you can process, can, and store it for a very long time. Once you can the tomatoes, the spores of bacteria in it will all die.
The third reason to can your tomatoes is to save you the cost of buying it during its offseason period, like the days of winter. When not in season, the price of tomatoes will rise. So, you can buy it in large quantities, can, and store it. That way, you’ll have enough to carry you through the winter.
One common question that people always ask is, what are the best types of tomatoes for canning? You can find the answer below.
The Varieties of Tomatoes That Are Good for Canning
In case you’re planning to grow tomatoes in your home garden, and you want to know the best ones for canning, you can find them below. Here are 11 variants of tomatoes that you can grow. They can well.
1. Green Envy
This plant grows to about 5 feet tall, and it produces a lot of emerald green tomatoes. It usually matures between 60 to 70 days after transplanting it.
2. Golden Fresh Salsa
This one is known for bearing firm, water-free, and meaty fruits within 70 days. Some farmers say they can survive in harsh environmental conditions.
3. Gladiator
This variant produces loads of 8-ounce fruits, and these fruits will mature within 72 days. All you need is a 5-foot wide garden area.
4. Fresh Salsa
This hybrid is known for producing big and plum fruits that weigh about 5 – 7 ounces. These tomatoes are usually 3 inches long and 2 inches wide.
5. Biltmore
Biltmore is loved for being disease-resistant. And virtually all its fruits will get ripe at about the same time. So, you can process them at the same time.
6. Big Mama
As its name implies, this one produces fruits that are relatively bigger than what others produce. Its fruits are not only bigger, but they are also heavier.
When you plant Big Mama, you should expect your tomatoes to be about 5 inches long and 3 inches wide. Also, the tomatoes weigh about 8 – 10 ounces.
7. Roma VF
This tomato is also disease-resistant. You’ll notice that it does not grow taller than 4 feet. We also noticed that its fruits aren’t so big, but they are meaty.
8. Red Pear
You may not like the small size of this tomato, but its taste is wonderful. It makes a great sauce. So, if you can look beyond its small size, you’ll enjoy it.
9. Sweetie
This tomato is relatively sweeter than others. If you want to use it for jam, you’ll need to add a smaller quantity of sugar. It’s not called Sweetie for nothing.
10. San Marzano
There’s nothing really special about this tomato apart from being meaty and sweet. It is also great for canning. For some reason, it grows best on volcanic soil. And it is quite easy to grow.
11. Costoluto Genovese
This is an Italian variant. It originated from Italy. Remember, when it comes to tomatoes, Italians are the best. For its delicious taste, this tomato used to be the favorite of Late Thomas Jefferson, a former president of the United States.
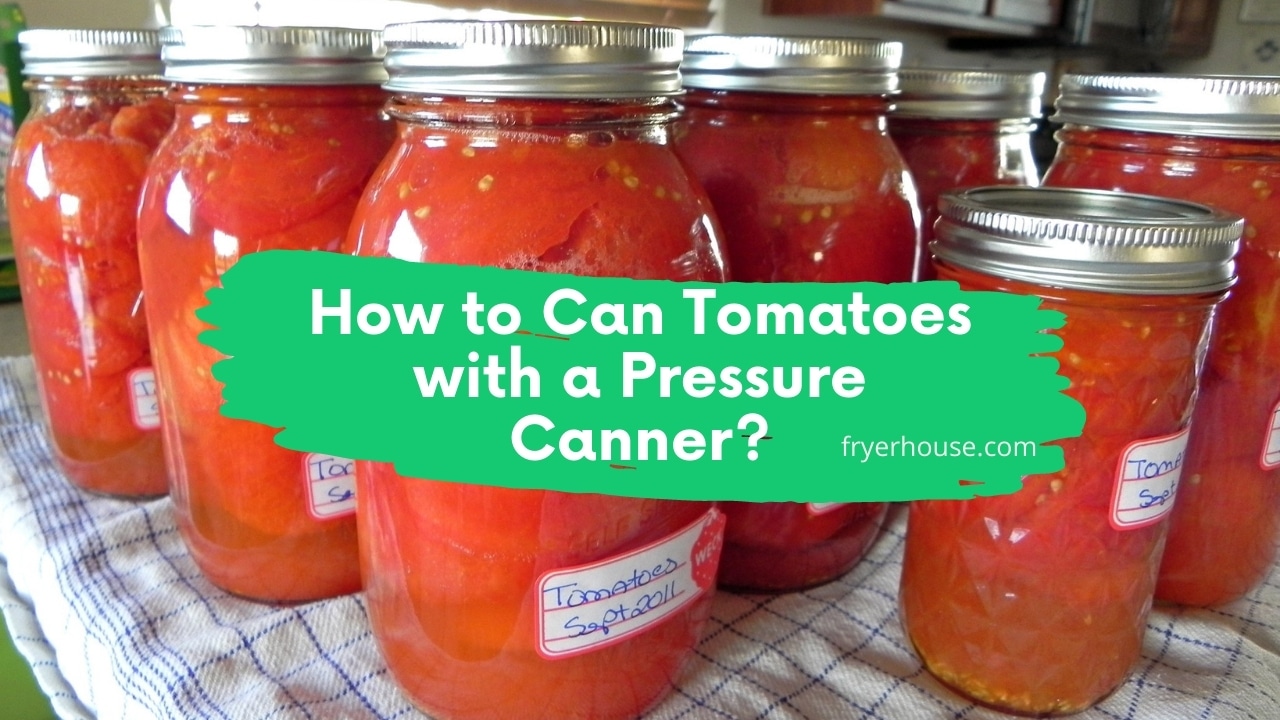
17 Steps On How to Can Tomatoes With a Pressure Canner?
Here is the main part of the article. Follow the steps below to can your tomatoes with a pressure canner. The steps are long, but they are easy.
Step 1 – Inspect the tomatoes and remove the ones with black spots. Black spots are a sign that they are already going bad.
Step 2 – Wash and sterilize your canning jars. You could place the jars in the oven at 225 degrees F for about 10 – 15 minutes. Don’t remove them until you’re ready to use them.
Step 3 – Slice off the tip of the tomatoes and place them in boiling water for a minute or two.
Step 4 – Remove them allow them to cool down.
Step 5 –Now, you can peel off the skin.
Step 6 – Fill each of the sterilized jars with the peeled tomatoes and their juices. Ensure you leave a space of an inch at the top of the jars.
Step 7 – Run a knife through each of the filled jars to remove bubbles.
Step 8 – Wipe the rims of the jars clean. Cover them and screw until tight.
Step 9 – Pour some water into your canner and place the canner rack in it.
Step 10 – Gently place all the jars of tomatoes on the rack, inside the canner.
Step 11 – Cover the canner and turn on the stove to high heat. Don’t place the regulator on the lid yet.
Step 12 – Wait until steam begins to pass out through the vent pipe. Then you can place the regulator and the weighted rings on the pressure canner.
Step 13 – When the regulator begins to rock, you can reduce the heat and wait until it becomes steady. Then, you can time the canning process according to the canning instructions in your manual.
Step 14 –When the time elapses, you should turn off the stove and allow the pressure in the pressure canner to cool down. This usually takes less than 20 minutes. The safety pin in the handle will drop down when the pressure reduces to a safe level.
Step 15 – Now, you can open the canner but do not put your face close to it as the steam that will come out could burn you. Remove the jars one after the other.
Step 16 – Allow them to cool down before removing the rings and checking their seal.
Step 17 – You can now label and store the jars.
Precautionary Tips:
1. Always Allow Canners to Depressurize Naturally
Once you finish canning, give the pressure at least 20 minutes to cool down and also depressurize before you begin to clean it up. Most pressure canners are made of aluminum, and they last longer when they cool off on their own.
2. Follow Recipes to The Letter
To get the best canning results, it is important that you follow the recipes strictly, including its timing. Remember, those guidelines were developed after several trials. So, it is necessary to follow them religiously.
3. Use up-to-date Recipes
Technology advances fast and you must move along at the same pace. If your recipes were released before 1997, the recipes are already outdated. Replace them with new ones. You won’t get great results with such recipes.
4. Check Your Pressure Canner Once a Year
We’ll advise you to get your pressure canner inspected at least once a year. You need to check its accuracy. If you don’t use your pressure canner for a long time, it is also necessary to inspect it.
Pay special attention to its gasket. A good gasket should be soft and pliable. If it’s hard or cracked, you must replace it before using the pressure canner again.
5. Study its User Manual
Every pressure canner comes with an instruction manual that also doubles as the recipe book. Make sure you study the manual before using your pressure canner for the first time.
This is the most important precautionary tip. You don’t want to make a mistake that could shorten the lifespan of your pressure canner or lead to poor canning results.
How long to can tomatoes in pressure canners?
The resultant of the pressure canning depends on the quantity of the tomatoes you’re canning. The time pint takes to become pressurized is different from the time quarts take. Also, the type of pressure canner one uses matters.
Therefore, an individual ought to be discreet enough to get it right. The two popular pressure canners are dial-gauge pressure canner and weight-gauge pressure canner.
Pints in dial-gauge take 35min at 11psi and 52min at 6psi. Meaning that the higher the pressure, the lower the time. Quarts, on the other hand, take 25min at 11psi to be ready and 40min at 6psi.
Weight-gauge pressure canner makes pint jars ready at 35min in 15psi and 52min at 10psi. Furthermore, 15min and 20min are the respective time quarts become ready when preset at 15PSI and 10PSI, respectively.
Is it better to water bath or pressure can tomatoes?
Experts often prefer the use of pressure cans over water bath canners because pressure canning heats cans at a higher rate than water bath canners. While a water bath canner could heat up the jars at 212-degree Fahrenheit, pressure canners would heat them at 250-degree Fahrenheit.
The high heating level is what decreases the pH of can tomatoes better and prevents it from secreting botulin, which causes botulism when bottled. Tomato has its acidity contents in the level of the ripeness of the variety one purchases.
Over-ripe tomatoes have lesser acidity than unripe ones. Therefore, using the pressure canner is to lower the pH level to keep its freshness.
Do tomatoes have to be canned in a pressure canner?
It doesn’t have to be canned in a pressure canner, but you can use a pressure canner to can the tomatoes if only you see a need to do so. Besides, you’ll need to do that perfectly if you plan to do that at any time.
Nevertheless, let’s discuss you into canning your tomatoes with a pressure canner awesomely. Firstly, fill the pressure canner halfway with water and mount it on the burner. Use the hot water to sterilize the pint/quart jars you intend to use for your pressure canner.
Indeed, that would prepare the jars for the apt absorption of the heats before hauling the tomato sauce inside the pressure canner. Prepare the tomato sauce and pickle it with either vinegar or lemon juice in the jar.
After that, seal up the jars, dip them inside the pressure cauldron, and seal up the lids of the cauldron itself. Set the time and let the time elapse before removing it with the lid lifter. Then, leave them in a cool place for 12hr or more to ensure that it’s ready to save.
What is the best method for canning tomatoes?
The prominent canning methods for tomatoes are pressure canning and water bath canning. Although ovens and steamers work greatly for canning tomatoes, the two have always been the best homemade solution.
Nevertheless, pressure canning is still the best for canning pickled tomato sauces, especially when they are in numbers. It does a perfect job of giving a perfect inference. Statistics have shown that homemade tomato sauces last longer in pantries when they are prepared with pressure canners.
Conclusion
This article explained the benefits of canning tomatoes, and it also listed up to 11 variants of tomatoes that are good for canning. You may want to plant some of them in your garden. In addition, we listed the steps involved in canning tomatoes. And finally, we gave some precautionary tips.

- 12 Best Rated Air Fryers for Home Cooking in 2026 - April 22, 2026
- 12 Best Air Fryers to Buy for Home Use in 2026 - April 22, 2026
- 11 Best Air Fryer Buying Guides for Beginners in 2026 - April 22, 2026